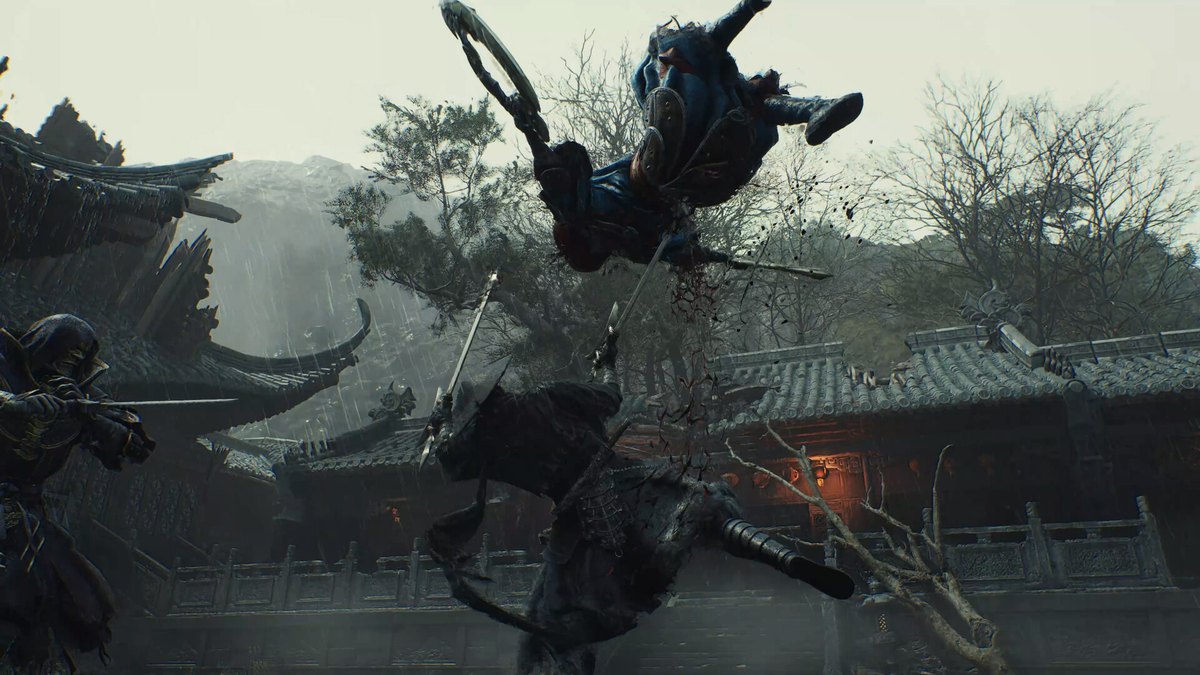
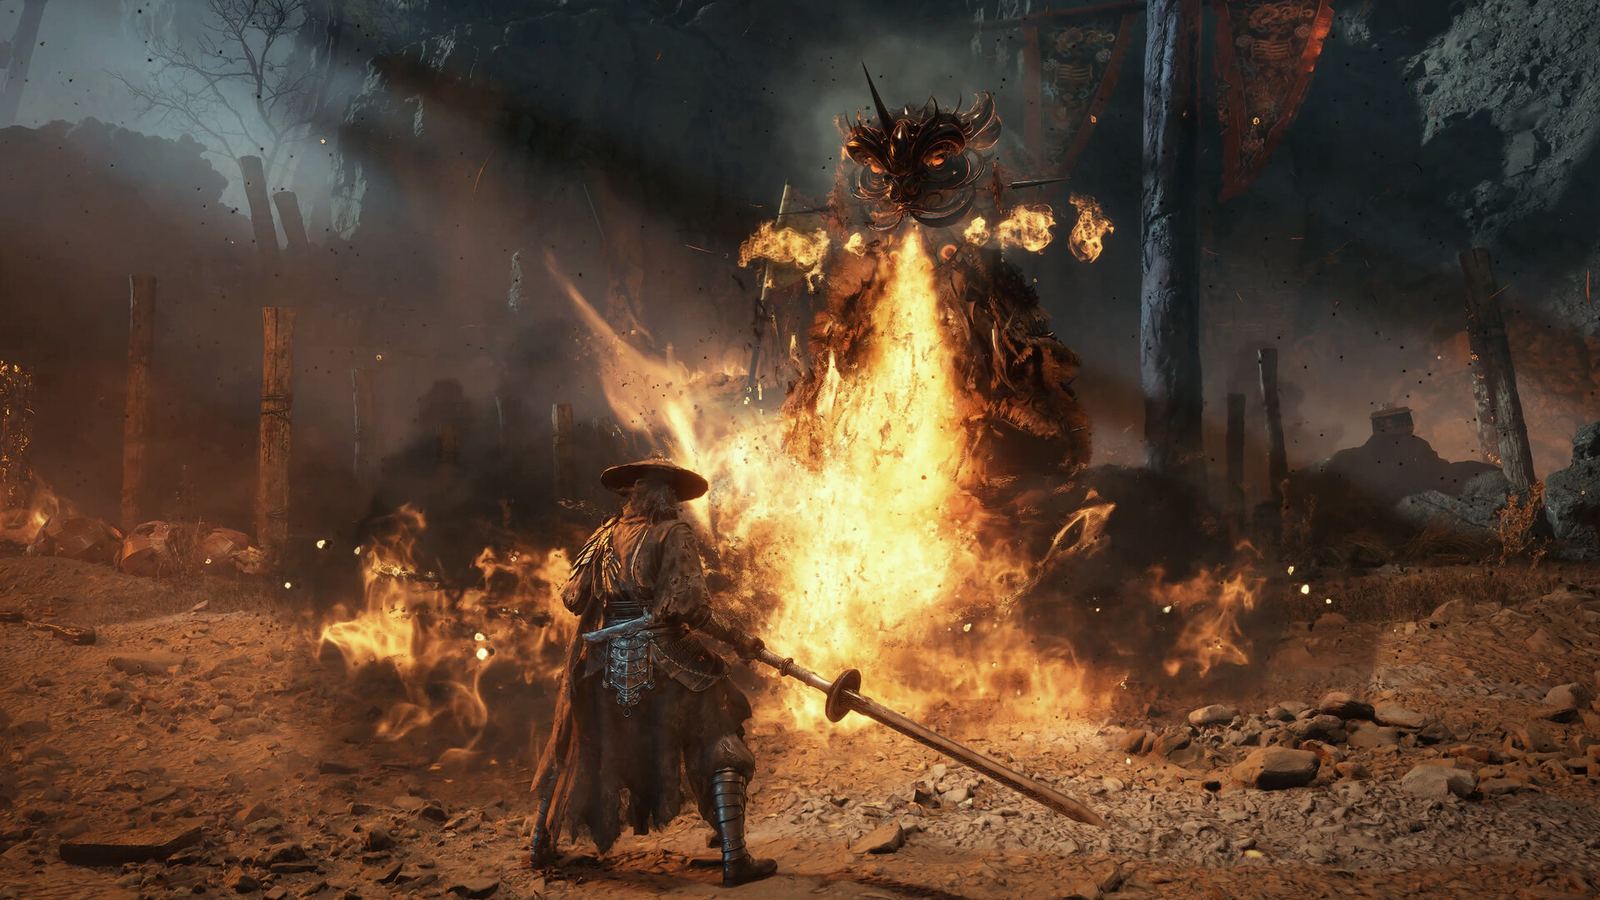
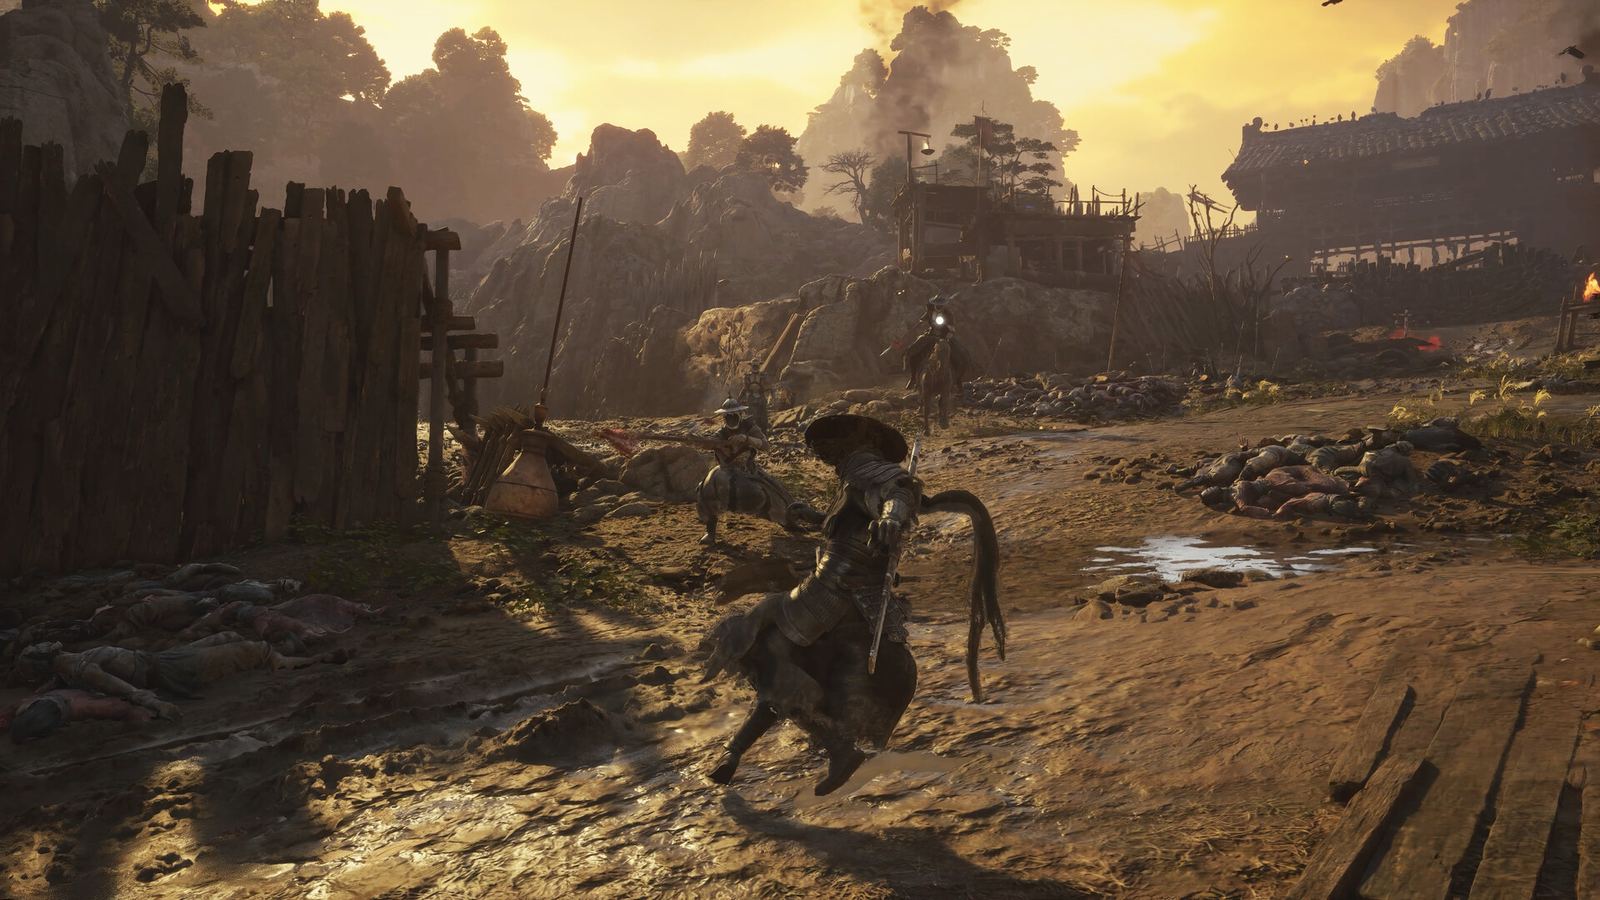
Sha-chi, stagger and the break window
Facts checked 2026-10-28
Sha-chi pays for blocking and heavy attacks. Parries and weapon swaps refill it; a broken enemy bar opens the window where health damage actually lands.
Sha-chi is the resource that decides fights in Phantom Blade Zero. It pays for blocking and heavy attacks, it refills when you parry or swap weapons, and the enemy's version of it is the yellow bar you are actually trying to empty.
If you understand one system in this game, make it this one. Damage numbers are secondary; a player who manages sha-chi beats a player with a better weapon almost every time.
Two bars, two jobs
Enemies show health and a yellow posture bar. Health is what you are reducing; the yellow bar is what decides whether you are allowed to reduce it.
While the yellow bar is intact, most enemies block, deflect or armour through your attacks. When it empties, the enemy breaks: they cannot react, and your hits land at full value. The bar then recovers, slowly at first and faster if you back off.
That recovery is the part people miss. Breaking the bar and then walking away to heal gives the enemy their posture back for free. A break is a spending window, not a rest. If the tells still confuse you, read combat basics first; if you want more windows per fight, the swap refill on the weapon switching page is the lever.
What fills your sha-chi
- Clean hits. Every landed attack returns some.
- Parries. The most efficient return in the game, and the reason parry-heavy play is also the most sustainable.
- Weapon swaps. Switching fully refills the incoming weapon's meter, once per cooldown.
- Amber Shards. Permanent maximum increases found in the world.
What drains it
- Blocking. Small per hit, heavy against brutal moves.
- Heavy and sha-chi attacks. Your main damage spend.
- Getting hit while attacking. Trading is expensive in this game because you lose the meter and the tempo.
The break window, in order
- Parry the blue-flash attacks and block nothing you can avoid. The goal is the yellow bar, not the red one.
- Keep light pressure between parries. Passive defence lets posture regenerate.
- When the bar empties, do not start with a heavy. Open with your fastest string so the enemy stays staggered.
- Spend the heavy attacks and Phantom Edge uses in the middle of the window, not the start.
- Swap weapons on the way out. The refill leaves you ready for the next round instead of empty.
Raising the ceiling
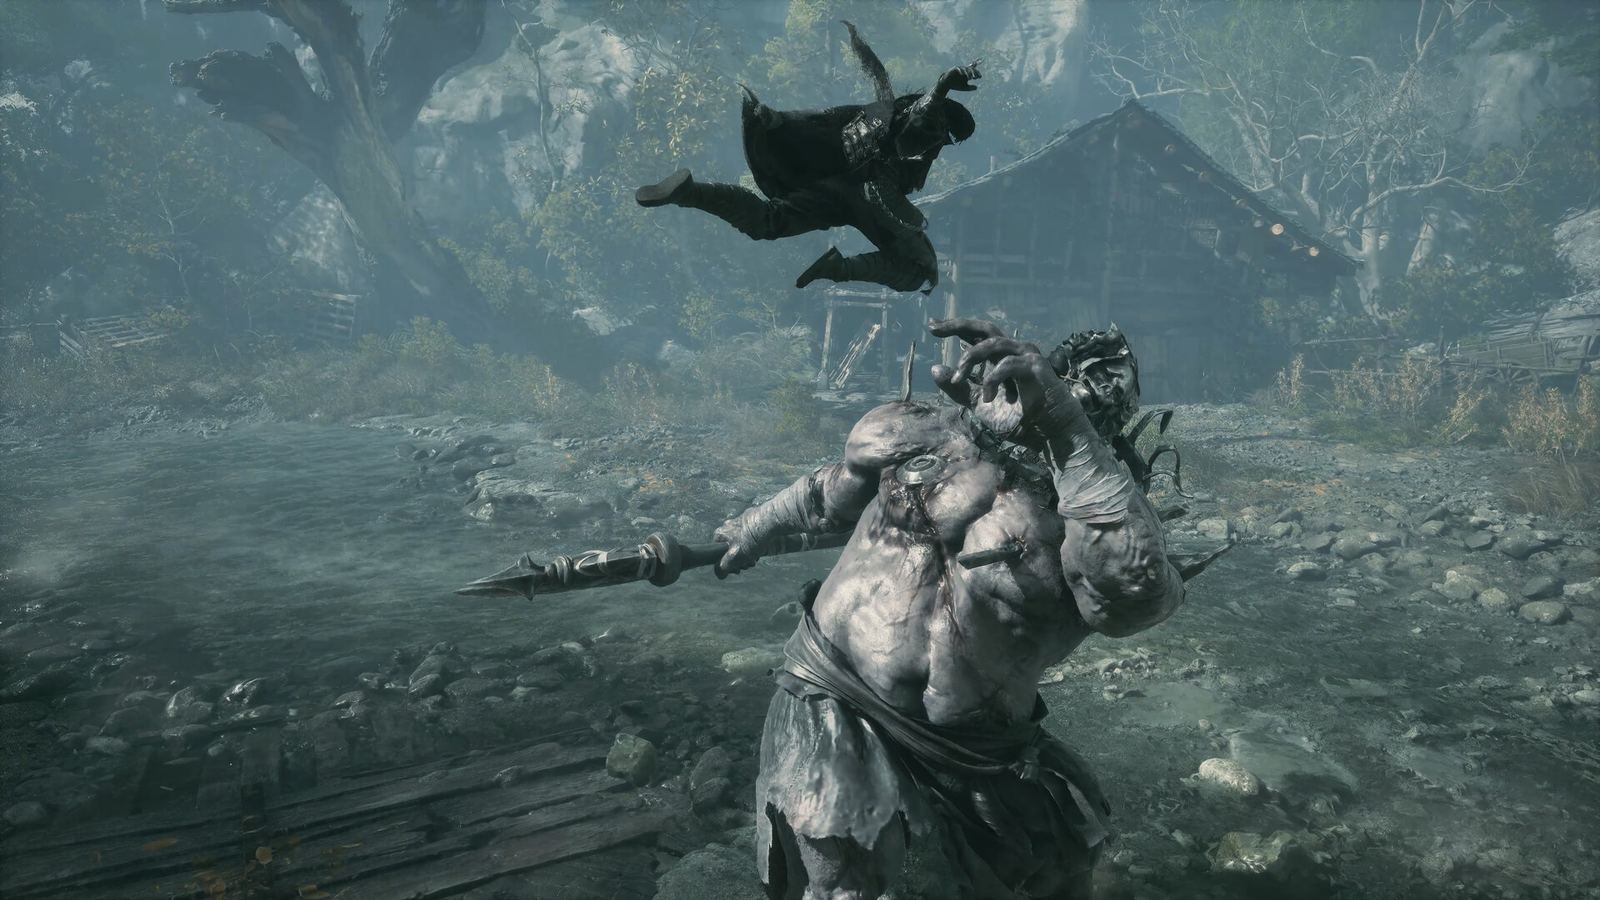
Sha-Chi Amber Shards are permanent maximum increases, collected in the world. In the demo build, four Amber Chip fragments raised the gauge by 30%; the retail game uses the same shard language, and the collectibles page tracks where they sit. More maximum sha-chi means more blocks absorbed and more heavies per window, which compounds with every other upgrade — see weapon upgrades for where the materials should go first.
Reading a fight
If you keep dying with a full health bar and an empty sha-chi bar, the problem is defensive spending, not damage. Block less, parry more, and stop attacking into an unbroken enemy. If you keep dying with full sha-chi, you are not spending it: use the heavy attacks inside the break window.
FAQ
Does sha-chi regenerate on its own?
Yes, slowly, and faster when you are not under pressure. It is not a bar you can wait out mid-combo; parries and swaps are the reliable refills.
Do enemies share one posture bar?
Each enemy has their own. In group fights, break the weakest enemy first — the window is shorter but it removes a threat and gives you sha-chi back.
Is sha-chi the same as stamina?
Functionally, yes, but it is also your heavy-attack currency. That double duty is why blocking is expensive.
What raises maximum sha-chi?
Amber Shards found in the regions, plus accessories. The trophy list caps the collectible requirement at ten Memory Flowers, but Amber Shards are separate and worth hunting.